how to remove bubbles from tempered glass screen protector without taking it off?
Table of Contents
Introduction: Achieving a Seamless Tempered Glass Screen Protector
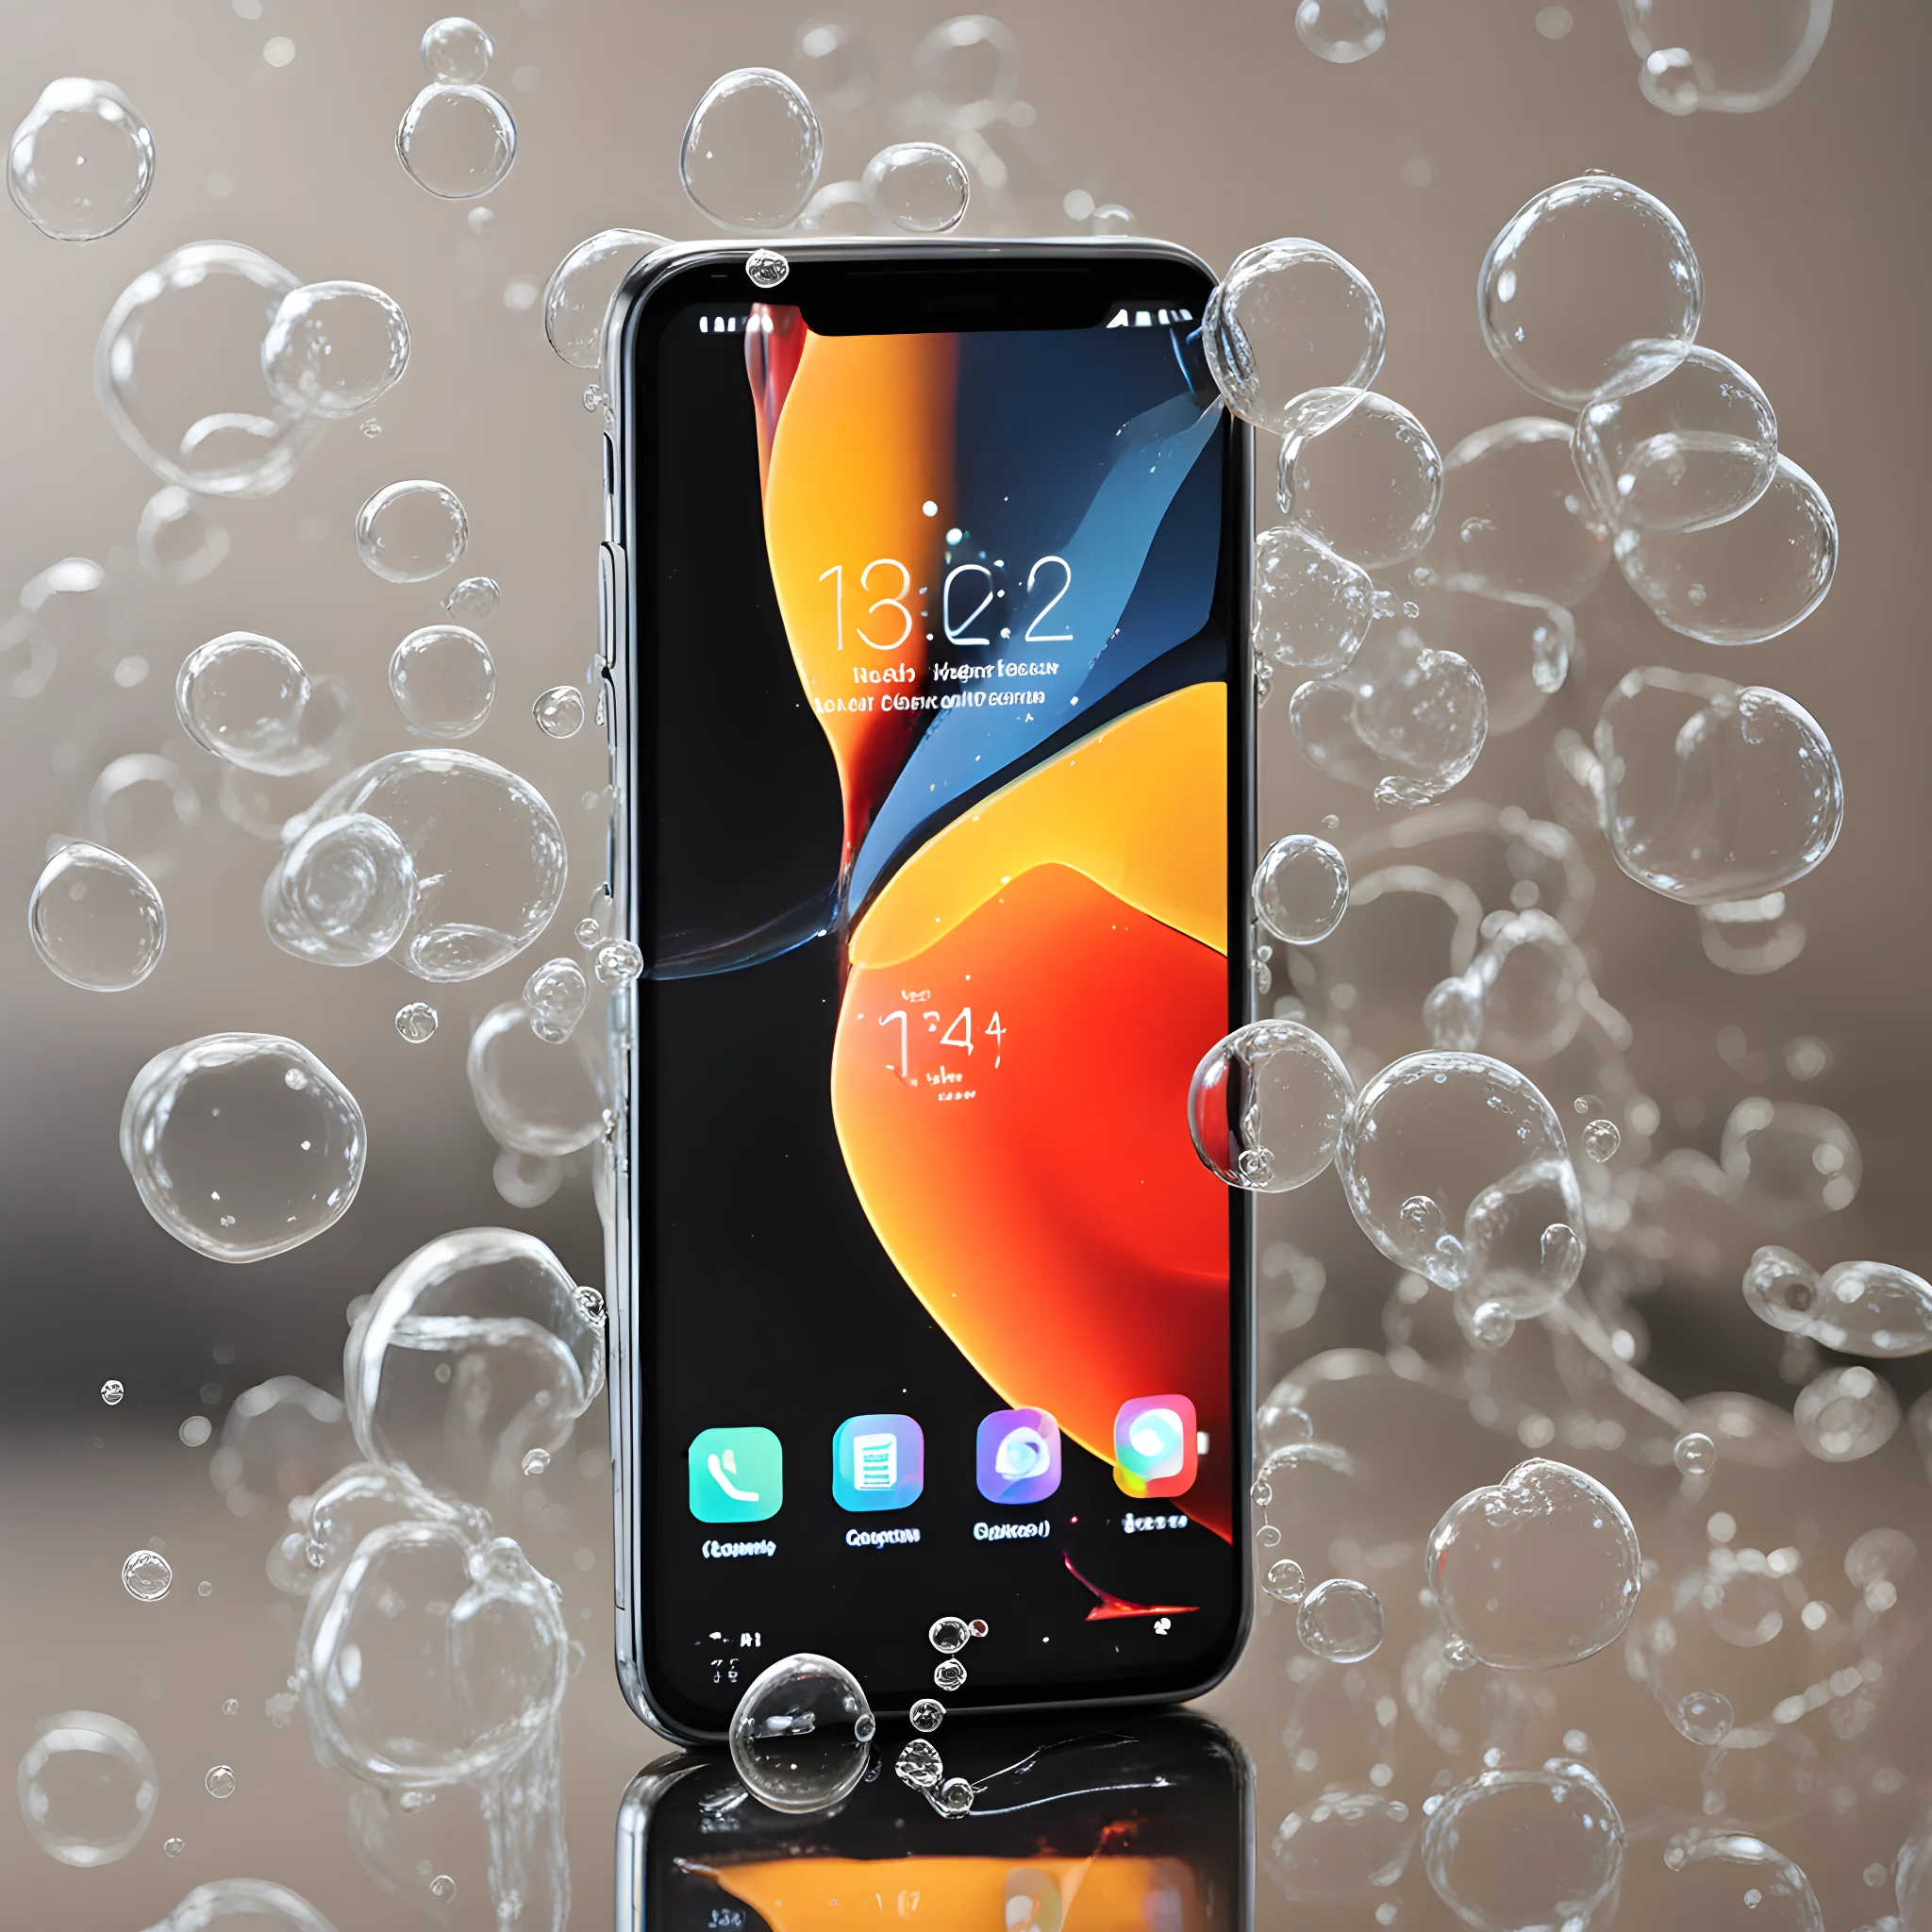
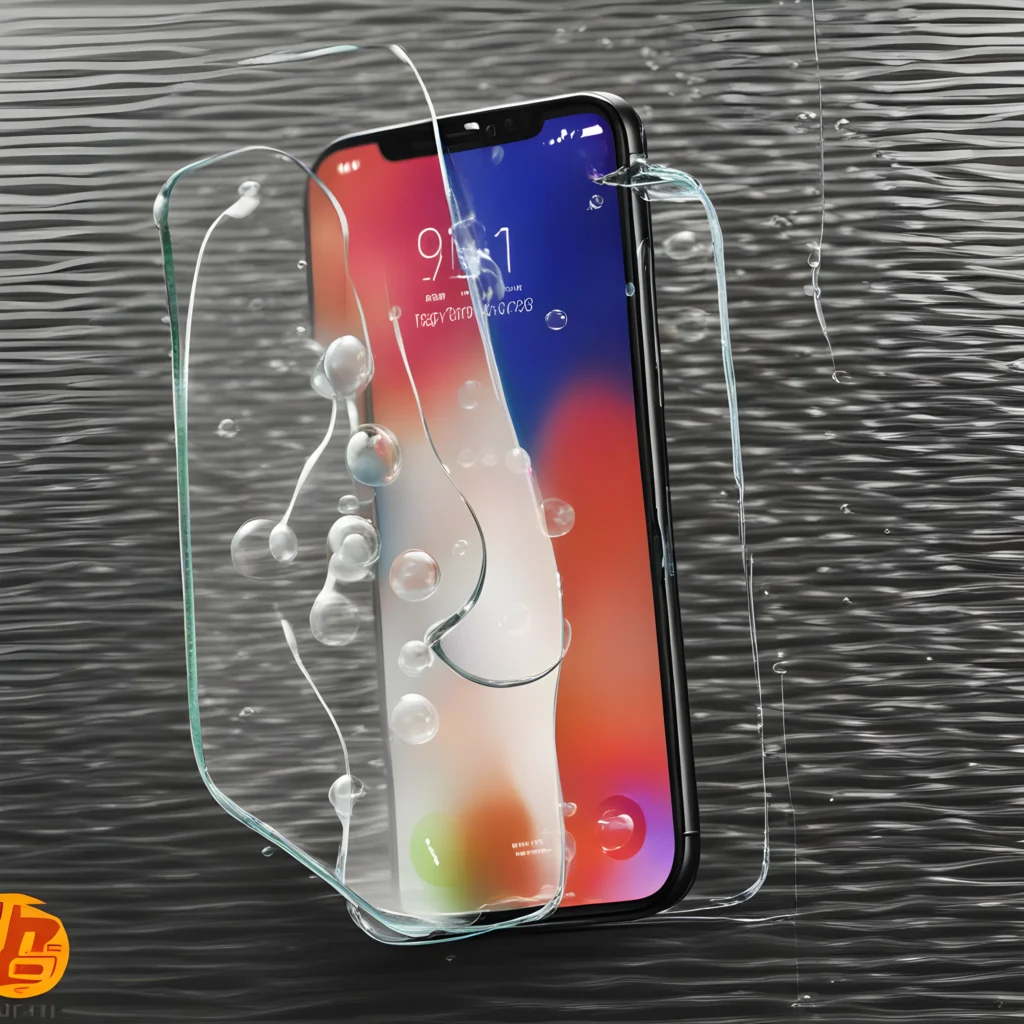
Applying a tempered glass screen protector to your smartphone or tablet is a prudent choice to protect your device’s display from scratches, smudges, and minor impacts. Yet, during the installation process, those bothersome air bubbles can sometimes make an appearance, compromising not only the aesthetics but also the functionality of your device. The good news is that you don’t always have to remove the entire screen protector to banish these irksome bubbles. This comprehensive guide will walk you through the steps to effortlessly eliminate air bubbles from your tempered glass screen protector while ensuring it remains securely in place.
Necessary Tools:
Before you embark on this journey to achieve a bubble-free protector, make sure you have the following tools ready:
- Microfiber or Lens Cleaning Cloth: To create a pristine workspace and ensure your screen is clean
- Credit Card or a Similar Plastic Card: Ideal for lifting the protector’s edge.
- Scotch Tape: A handy trick to tackle persistent bubbles
- Patience and precision: These attributes will be your allies in achieving a flawless result.
Step-by-Step Guide:
Step 1: Set Up Your Workspace
Commence by creating an environment conducive to success. A clean and well-lit workspace is crucial, as dust and debris can easily find their way under the protector, complicating your efforts.
Step 2: Identify and Note the Bubbles
Activate your device’s display and carefully identify the exact locations of the bubbles. This knowledge will prove invaluable as you work toward their eradication.
Step 3: Utilize the Microfiber Cloth
Take your microfiber or lens cleaning cloth and gently wipe the screen protector, ensuring it’s free of visible dust or smudges.
Step 4: Lift the Edge of the Protector
Locate the edge of the screen protector where the bubbles are situated. If the bubbles are in the center, begin from one corner. Use your fingernail or a plastic card to gradually lift the protector, being cautious not to damage the screen or the protector itself.
Step 5: Insert the Plastic Card
With the edge lifted slightly, carefully slide a plastic card, preferably a credit card, beneath the protector, taking care not to touch the adhesive side. This action creates a small gap between the protector and the screen.
Step 6: Address the Bubbles
With the plastic card in place, apply gentle pressure to the area affected by the bubbles. Ensure even pressure distribution while working from the center of the bubble toward its outer edges. This action should effectively expel the trapped air from beneath the protector.
Step 7: Employ Scotch Tape
For those stubborn bubbles that refuse to budge, employ a clever trick. Take a small piece of Scotch tape and meticulously apply it to the bubble-affected area. Press down firmly, and then peel the tape away slowly. This maneuver should lift the protector slightly, allowing the trapped air to escape.
Step 8: Smooth Out the Protector
After addressing the bubbles, use your plastic card to delicately smooth out the protector’s surface, ensuring it adheres securely to the screen.
Step 9: Inspect for Any Remaining Bubbles
Activate your device and thoroughly inspect the screen for any lingering bubbles. If you spot any, repeat the elimination process, focusing your attention on those areas.
Step 10: Final Inspection and Touch-Up
Once you’re confident that all bubbles have been banished, carefully remove any remaining dust or fingerprints from the protector using your trusty microfiber cloth.
Conclusion: Achieving a Bubble-Free Tempered Glass Screen Protector
The endeavor to remove bubbles from a tempered glass screen protector without removing it may require patience and precision, but with the right technique, it’s entirely achievable. By meticulously following the steps outlined above, you can ensure that your device’s screen protector not only provides optimal protection but also maintains an aesthetically pleasing, bubble-free appearance. Remember, patience and precision are your allies throughout this process, safeguarding both your device and its protector.
Check on Amazon for Air bubble or Tempered glass removal kit
